
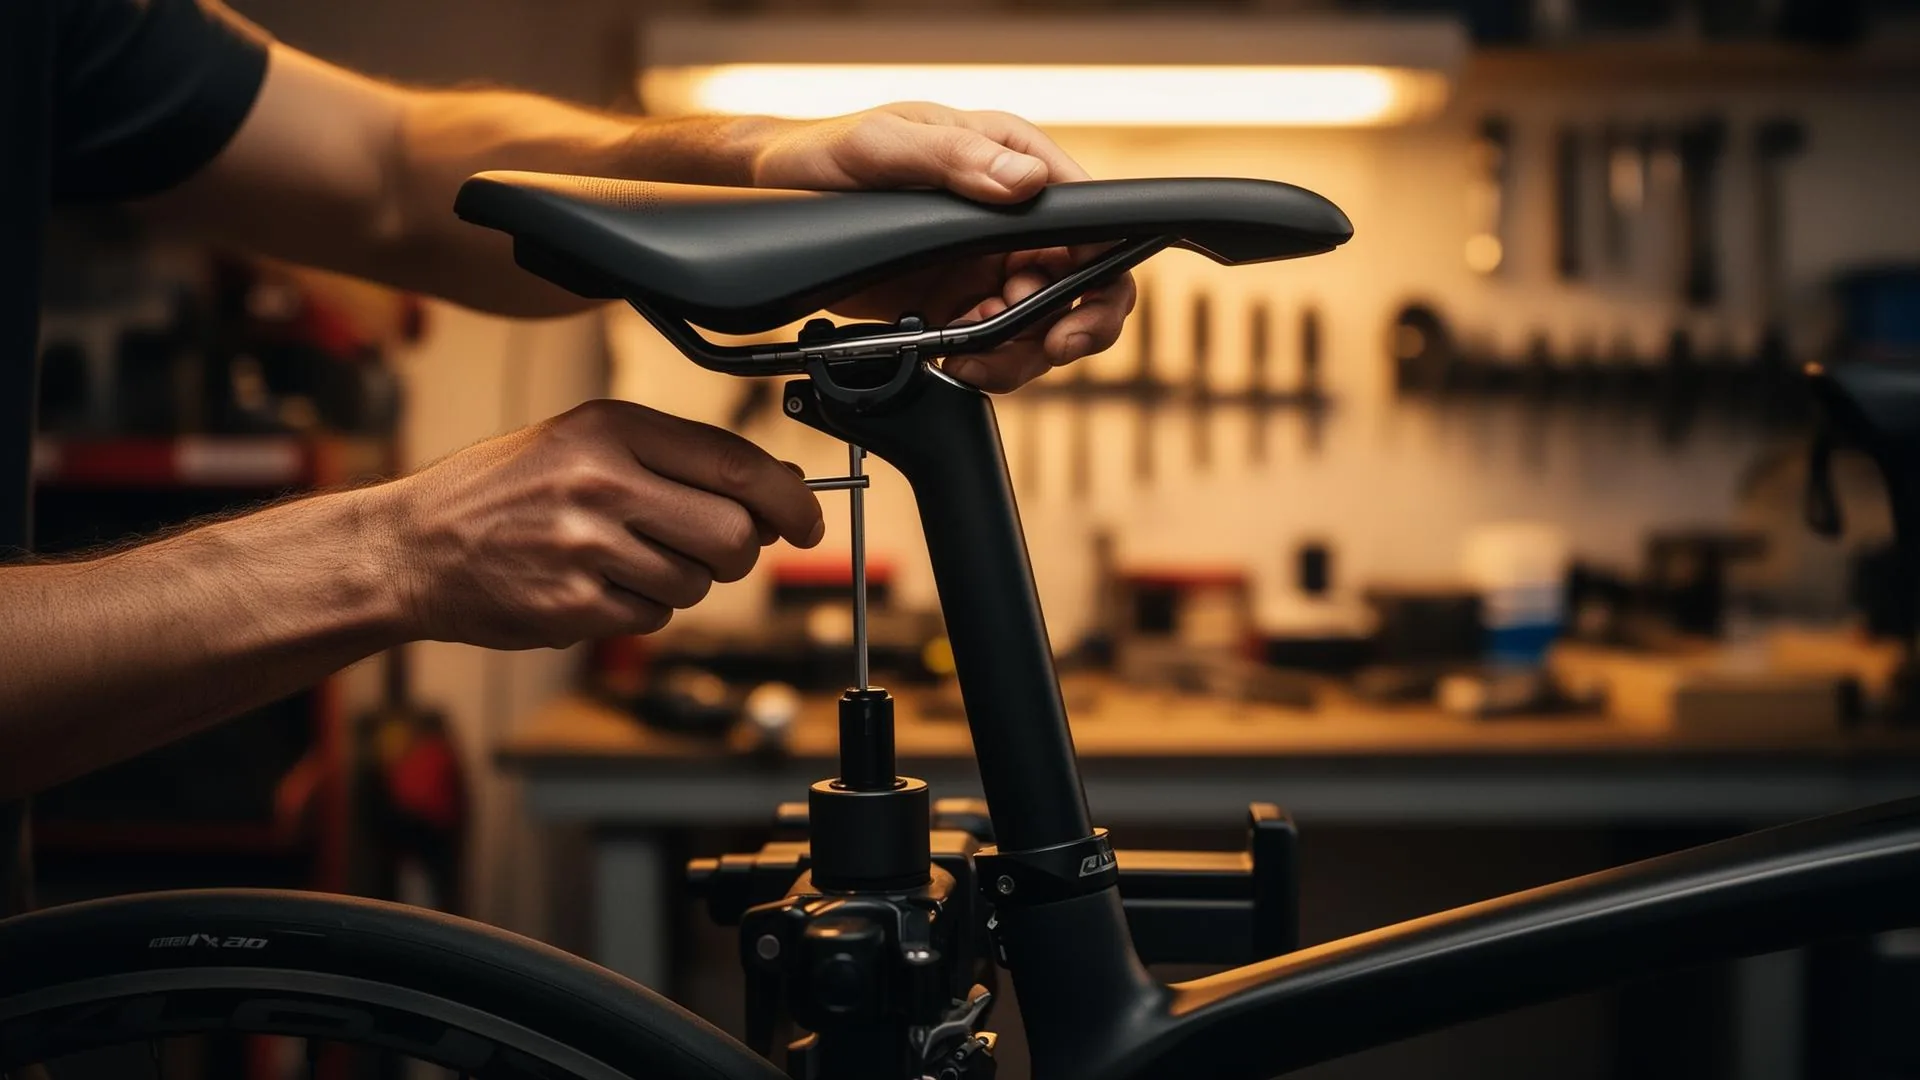
Road bike saddle setup: saddle height and setback guide
Road bike saddle setup: From correct saddle position to setback: how to set up your road bike for your body, step by step.

This guide on road bike saddle setup explains everything you need to know. Determining the correct road bike setup for your body is not easy. The optimal riding position on a road bike does not just depend on your body measurements. You also have to take into account your cycling goals, flexibility, fitness and sensitivity to pains and injuries.
Therefore the optimal bike setup can change over time for the same person. For example, you will need a different bike set up if your goal is to cycle as fast as possible for one hour, compared to planning for a bike trip of 150 km in the mountains.
We have developed an interactive online tool that helps you determine your optimal cycling position and bicycle setup. In our online bike fit you will be asked to answer a number of multiple choice questions to map out your cycling goals, flexibility, fitness and pain points. Then we ask you to measure a number of your body sizes. With this information we then calculate which riding position and road bike setup is best for you.
After you have received the report with your bike setup measurements, you can start adjusting your bike accordingly. Below are a number of points that you should take into account.
How to adjust your road bike setup yourself
There are two important rules to follow when adjusting your road bike. First, you always work from your feet to your hands when adjusting your road bicycle. This is important because one adjustment may affect subsequent adjustments. For example, if you install a crank that is 5mm longer, your saddle should also be lowered 5mm, and if you want to keep the same drop, your handlebars should also be lowered by 5mm. Or if you move your saddle 2 cm backwards, you also need a 2 cm shorter stem in order to maintain the same upper body riding position.
Second, you should never make large changes at once. Your body is used to your current riding position. A big change can cause pains or even injuries, even if the change provides a better cycling position. For the same reason, an improvement can also feel uncomfortable at first. Therefore, give your body a few rides to get used to an adjustment and do not immediately plan long challenging bike rides.
Saddle height for your road bike
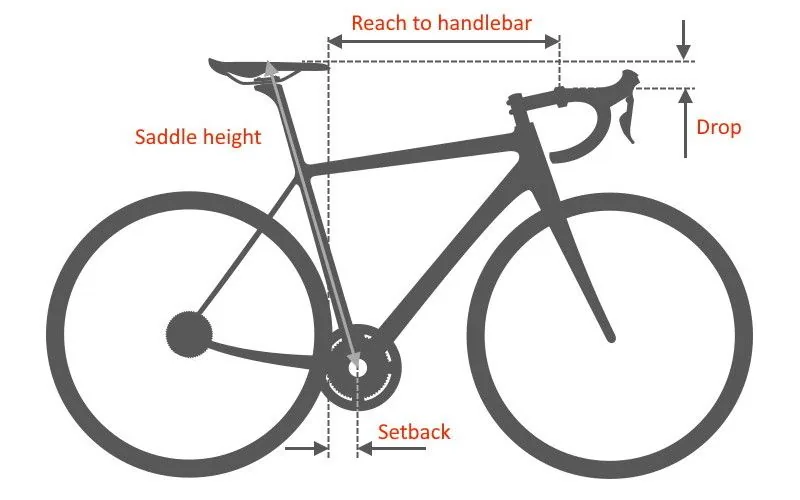
The correct saddle height is by far the most important road bike setting for optimising your performance. In addition, an incorrect saddle height can cause pains and injuries. That is why a lot of scientific research has been done on this topic. One of the key insights from this research is the difference between optimising for peak power and for cycling efficiency. For maximizing your peak power you will need a slightly higher saddle height compared to optimising for endurance efficiency.
In addition, there are many factors influencing the optimal saddle height to a greater or lesser extent. In order of importance: leg length, foot length, crank length, flexibility, ankle angle, saddle shape, sole thickness and pedal thickness.
The important insights from scientific research have been incorporated into the saddle height calculation of our online bike fit. We take your cycling goals, flexibility, leg length, foot length and crank length into account. You will not find a better saddle height calculation anywhere.
Of course a calculation will not always be perfect. The quality of the advice directly depends on the accuracy of your body measurements. And as indicated earlier, there are exceptional factors that we do not take into account that can influence your saddle height. If you cycle with a deviating ankle angle, for example with your heels down, you will need a lower saddle height than given by our calculation.
Saddle tilt: the correct saddle angle on a road bike
The guideline for the angle of your saddle is between 0 degrees (horizontal) and 3 degrees nose down. 1 degree can make a lot of difference here. Determining the optimal angle is very personal and also depends on the shape of your saddle.
You are able to determine the optimal angle for your road bike saddle by first placing the saddle horizontally, after which you will take a test ride. If your saddle is not sitting correctly, lower the front 1 degree for the next test ride. Do this until your saddle is in the right position. More details on when to lower or increase the saddle tilt is available in our bike fit report appendix.
Saddle setback: horizontal saddle position on a road bike
The horizontal position of the saddle is defined in the bikefit by the saddle setback. The bikefit report includes instructions on how to measure it. You are able to adjust the saddle setback by moving the rails on top of the seat post forward or backward.
It is easy to check the setback of your saddle yourself. To do this, sit on the road bike in your normal cycling position. Place one pedal in the front horizontal position. Use a piece of string with a weight at the end and let it hang down the outside of your kneecap. If this string is hanging free, it should run through the centre of your pedal.
The saddle rail has limited adjustment options. If you cannot achieve your optimal saddle setback, then you probably need to replace the seat post. There are seat posts with different offsets. With a larger offset, the saddle rails are further back on the seat post.
Want to know exactly which measurements suit your body? Take our online bike fit and get your personal report right away.
Related articles

What road bike frame size do I need?
How to choose a Road bike frame size: don't pick based on height or leg length. Use stack and reach to determine the correct bike frame size for your position.
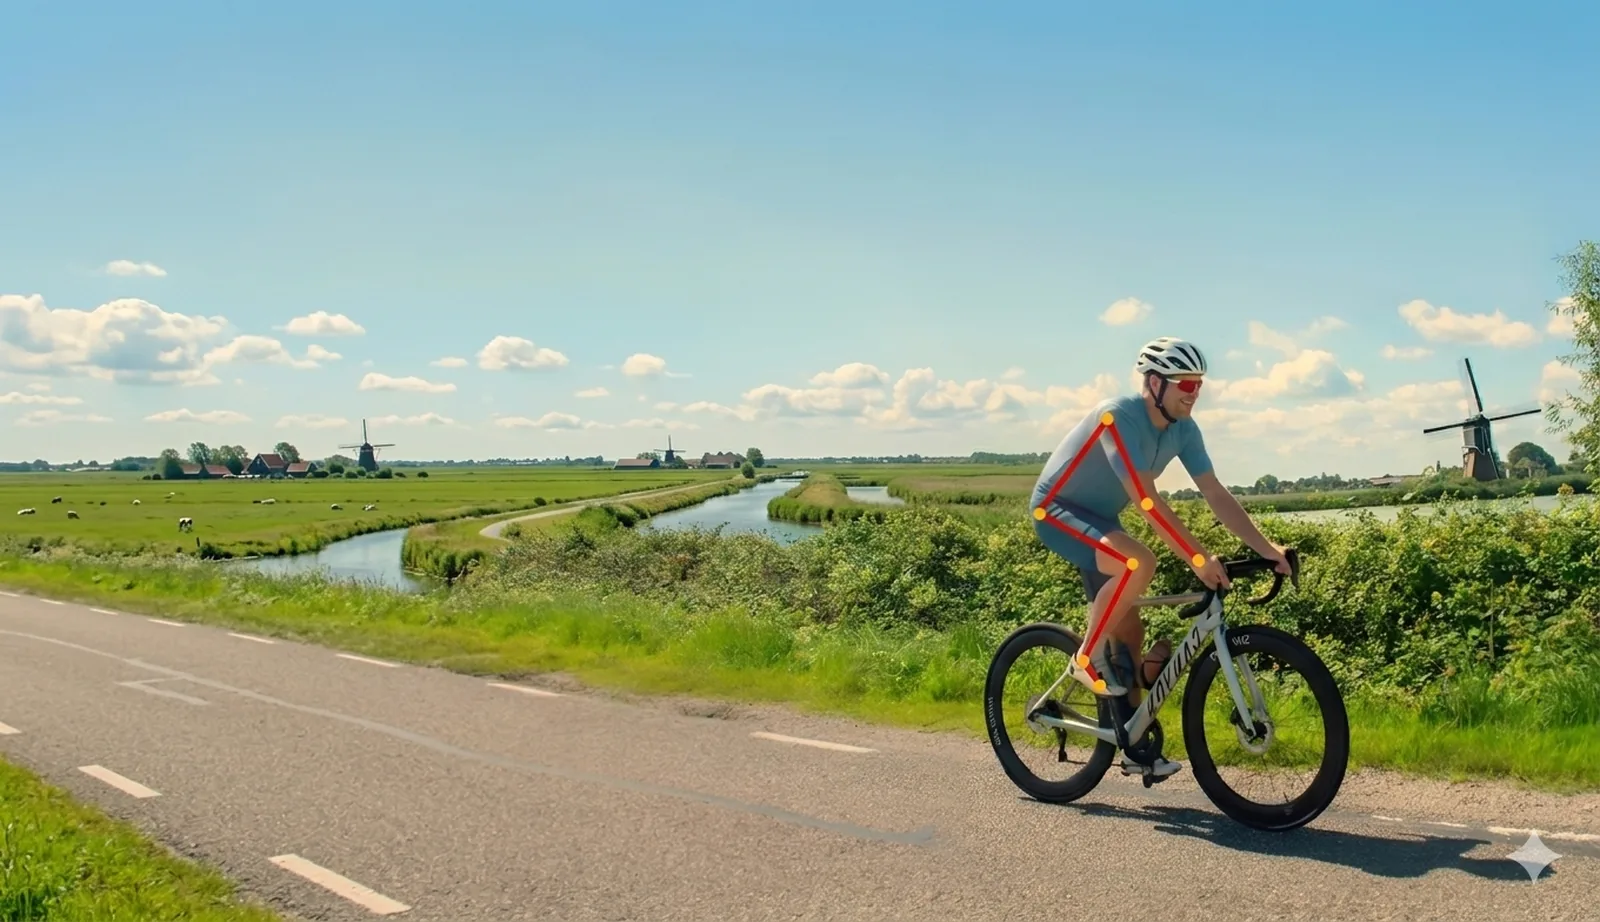
What is the ideal road bike position?
Road bike position — Your bike position and fit are more important than you think, and most riders don't know enough about it.
Ready to optimise your bike fit?
Get a personalised bike fitting report in just 15 minutes.
Start your bike fit